A ‘Best Value’ Among National Universities
Mercer is consistently named a “best value” among national universities, combining exceptional education and career preparation at a relatively affordable price.


Why Mercer
Making A Genuine Difference

Discovery and Innovation
Curiosity with a purpose

Global Impact
Making a world of difference

Strengthening Communities
Local and global connections

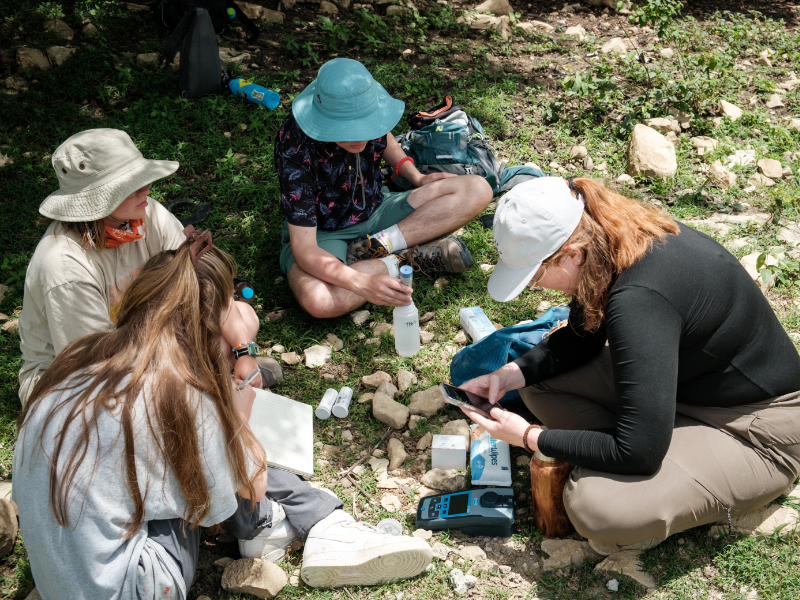
Research That Reaches Out
Integrating research and service

Flourishing Arts Scene
Supporting the arts
The latest news and features


Events
What's going on
Certified to Inspire Early Learners: Earning a Birth Through Kindergarten Teaching Certificate
12:00pm - 12:30pm
Online
Admissions – Working Adults Undergraduate
Pre-Nursing Admissions Webinar: Next Steps Toward Your Traditional BSN
12:00pm - 12:30pm
Online
Admissions – Working Adults Undergraduate
Lack of Sleep Intervention for College Students
12:30pm - 1:30pm
Connell Student Center Lobby
Student
Townsend School of Music Honors Recital
3:30pm - 5:30pm
McCorkle Music Building, Neva Langley Fickling Hall
Student
Third Thursday Reading Series: A Tribute to David Bottoms
6:00pm - 7:00pm
Connell Student Center, Conf. Room 1
Faculty & Staff
Lean Six Sigma Yellow Belt Certificate Program
8:00am - 4:30pm
Mercer University Atlanta Campus
Alumni
Make It Mercer!
12:00pm - 5:00pm
Mercer University Macon Campus
Admissions – Residential Undergraduate
Bear Tracks in Marketing: Working Adult Marketing Degree Webinar
12:00pm - 1:00pm
Online
Admissions – Working Adults Undergraduate
April TGIF (Thank Goodness It’s Food Bank Friday)
2:30pm - 5:00pm
Connell Student Center Lobby
Student
The professors that I've been able to learn from have taught me so many things — and not just nursing skills. They’ve taught me to be a leader. They’ve taught me to step out of my comfort zone. ... They have taken the time to get to know us as individuals, and I really feel as though this cannot be replicated anywhere else.

I feel like Mercerians really pride themselves on individuality and being who you are and embracing who you are. I really had a lot of space to get to know myself better.

Mercer has provided me with the tools to work in this current job market. ... I really enjoyed this experience. I will definitely miss the camaraderie between the teachers and the students. I feel like they put you in a position to succeed.